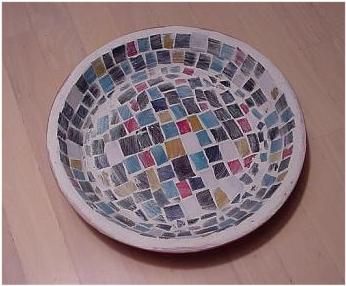
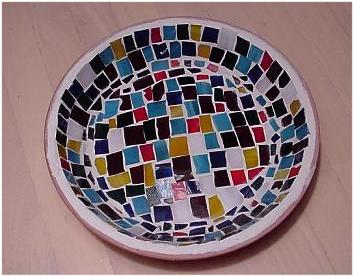
Creating a Mosaic Bowl using the Direct Application Method
GETTING STARTED
The process of making mosaics is actually very simple and consists of just a few simple steps. These steps are as follows:
1. Pre-planning your project
2. Choosing your design
3. Laying out your design
4. Cutting your mosaic pieces
5. Gluing down your glass
6. Applying grout to your project
7. Removing excess grout & cleaning up
The following examples are done without a pattern. If a pattern was to be used it would be traced onto the inside of the ceramic bowl and would guide the placement of the mosaic pieces.
Pre-planning your project
You will first need to decide what you are going to apply your mosaic glass to. This object is referred to as the project surface. It can be almost anything that is solid and that glass will adhere to. Flat surfaces are easiest to work with but rounded surfaces can be used as well. Beginners should start with something simple such as a solid pot holder or a stepping stone. Once you are experienced you can apply mosaic glass to stepping stones, bird baths, garden benches, mail boxes, picture frames, clocks, front porches, walls, floors, pool steps, border stones, bird houses, bricks, and many, many other surfaces.
Choosing your design
As with any work of art you must first decide what design or pattern you are going to use. Almost any stained glass pattern will work for mosaics and there are thousands of patterns to choose from.
You also have the choice of drawing your own pattern on a piece of paper or drawing a pattern directly on the project surface. In any event, using a pattern will give you better results as far as the look of your finished product and will make it easier to place your mosaic pieces.
If you choose to use what we call the freestyle or random layout method, you should at least use a picture or drawing of the design you are trying to create as a reference.
Laying out your design
There are two methods of mosaic application, direct and indirect. Both are outlined below and each method has its advantages.
Direct Method – The direct method involves tracing or drawing the pattern onto the project surface and then gluing the pieces onto that surface using mosaic glue.
If the project surface is flat then carbon paper can be used. First take a piece of carbon paper and lay it onto the project surface. Then take your pattern and lay it over the carbon paper. Using a pencil, trace the pattern onto the project surface. If necessary, when you are done, take a marker and go over the carbon outline until it is clearly visible
If the surface is such that the pattern cannot be transferred with carbon paper then the pattern must be drawn by hand onto the surface. If possible use a ruler or flexible tape measure.
For example, if you were laying out an irregular shaped flower pot or vase and were planning a simple side by side tile design you would take a ruler and draw grid lines every inch or so as a guide. If you were going to integrate a 3″ x 3″ rose pattern in your design you would use a pattern and carbon paper for that portion.
The direct method is used for horizontal surfaces and is nice in that once the pattern is traced onto the project surface you can glue one piece at a time taking all the time you need.
Freestyle or random placement is only recommended on very small pieces where the design is simple. Whenever possible, especially on intricate designs, use a pattern.
Indirect Method – The indirect method utilizes clear contact paper which is laid over the pattern with the sticky side up. The glass pieces are pressed onto the contact paper using the underlying pattern as a guide. When laying out your design, make sure you leave a 1/8 inch gap between pieces for your grout.
This method is useful for vertical surfaces like walls. Since the pieces are attached to the contact paper they can be glued vertically without pieces slipping. The disadvantage to this method is that all the pieces will be applied at the same time which is a little tricky.
Applying the glass using this method is discussed below.
Cutting your mosaic pieces
Refer to the section above on cutting glass
Gluing down your glass
Direct Method – There are several different types of glue that can be used for mosaics. (several are listed in the materials section above) The glue you use should be compatible with glass, should be waterproof when dry, and should dry clear so that it won’t show through the glass and so that it won’t cover up your pattern lines when first applied. For horizontal surfaces it is not necessary for the glue to dry fast but in more vertical applications a faster drying glue is a must.
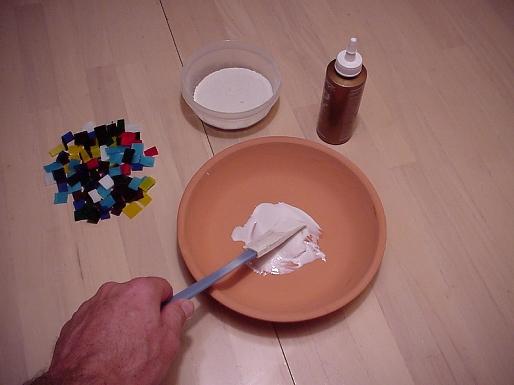
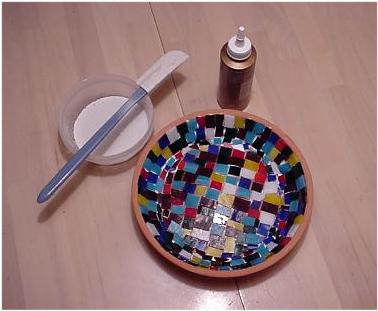
Using a glue spreading tool, apply a layer of Mosaic Adhesive onto the project surface. (TIP: Be careful not to over apply your glue. If you fill in the areas between the pieces with glue there will be no room for your grout.) Carefully place your mosaic pieces onto the project surface making sure to leave a 1/8 inch gap between pieces. Firmly press each piece in place. Work within a small area at a time for best results. Once all the pieces are in place allow the adhesive to fully set before proceeding. Once the pieces are set you are ready to go on to the next step.
Applying Grout to your project
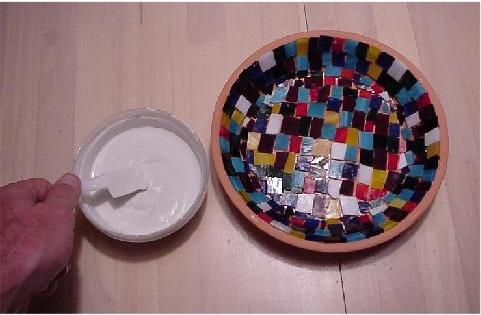
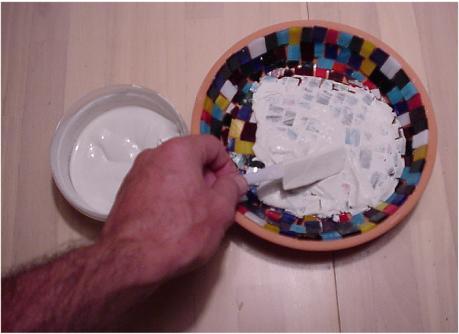
Mix up a batch of grout and using a grout applicator tool, spread it onto the tiles. (TIP: Auto body repair stores carry a great selection of spreading tools that are perfect for spreading grout.) Work the grout into the crevices until the grout is smooth and level with the tile surface. After using the spreader a paint brush can be used to work the grout thoroughly into all the crevices.
Removing excess Grout and cleaning up
After the grout has partially dried, wipe off the excess with a damp scrub sponge. When the grout has thoroughly dried, polish the tile surface with a damp paper towel or sponge until tiles are shiny and free of grout residue.
Congratulations! You’re ready to use and admire your new mosaic masterpiece.
Steven Cole (Economics, MBA – University of West Florida, Business & Innovation – Stanford University) 22 years experience in the safety business.

